[FW]镂空图片_Fireworks教程
教程Tag:暂无Tag,欢迎添加,赚取U币!
推荐:[FW]起角图片
1.打开一张图。 screen.width*0.7) {this.resized=true; this.width=screen.width*0.7; this.alt='Click here to open new window\nCTRL Mouse wheel to zoom in/out';}" border=0> 2.选择矩形工具 screen.width*0.7) {this.resized=true; this.width=screen.width*0.7;

2.选择矩形工具
 画一个矩形,设置数据如下图:
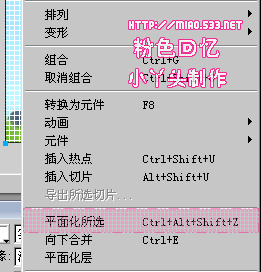
3.在图片上点击右键,选择 平面化所选,如下图:

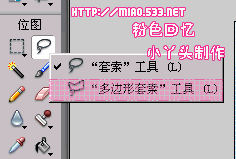
4.选择“套索工具”,在画布上画一个不规则图形

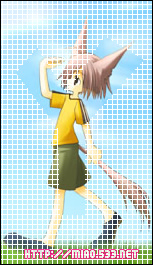
5.按CTRL D或者删除就行了,完成图如下:

分享:[FW]利用EDGES濾鏡做边框
1.打开一张图。 screen.width*0.7) {this.resized=true; this.width=screen.width*0.7; this.alt='Click here to open new window\nCTRL Mouse wheel to zoom in/out';}" border=0> 2.选择滤镜→Alien Skin Splat LE→Edges...如下图: screen.width*0.7) {this.resized=
 评论加载中....
相关Fireworks教程:
- 相关链接:
- 教程说明:
Fireworks教程-[FW]镂空图片
 。
。

 AI灏忚仛 鑳藉啓浼氱敾
 鍩熷悕
鍩熷悕 鎺ㄨ崘
鎺ㄨ崘